Updating an R710 PowerEdge Server
September 23, 2017 · Originally published on Medium ↗
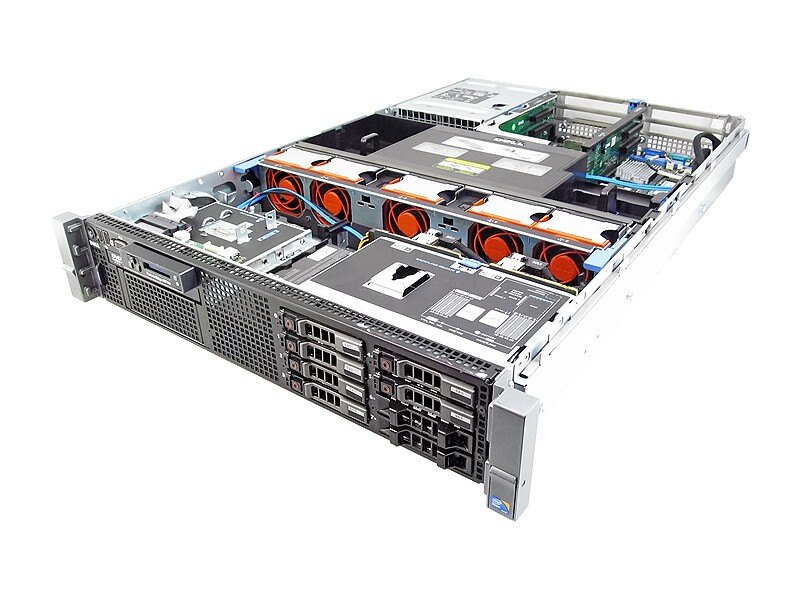
So you just got your hands on a shiny R710 that got decommissioned from work. Before you put this thing to use, you should update its BIOS, drivers and iDRAC.
I have done the exact same procedure on an R510 and everything worked. I guess this can be generalized to all Gen 11 PowerEdge servers.
Why should I update?
- Your machine will be quieter thanks to better fan management
- The virtual console will give you remote keyboard/mouse access and video output
- Bugfixes and stuff, I guess.
How hard can it be?
On principle, you just have to press F10 during the boot process to reach the System Services interface. From there navigate to Platform Update, install all the things and voilà.
See the video below. If it works for you, congratulations you are done!
“The updates are not Dell-authorized”?
However if your machine hasn’t been kept up to date so well, you will run into the “not Dell-authorized” error. Wait, the updates were downloaded from Dell’s servers, why are they getting rejected?
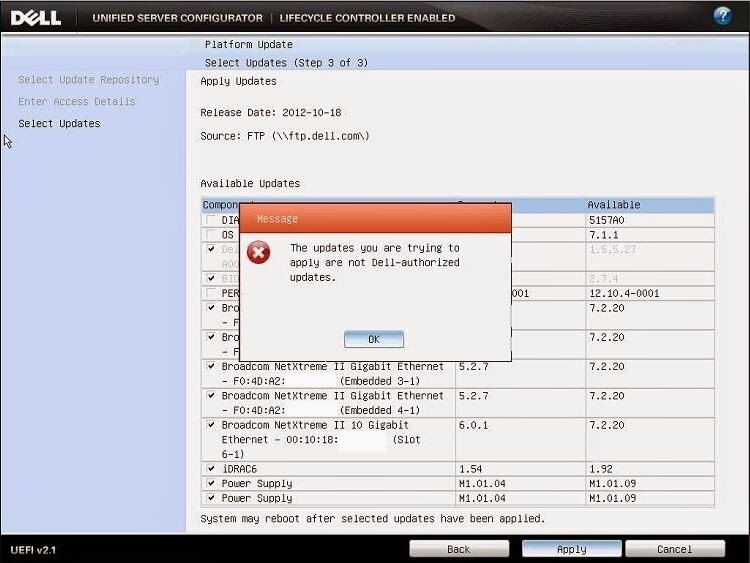
This happens if some installed components are too old. For things to work you need:
- iDRAC version 1.85 or above
- Lifecycle Controller version 1.5.2 or above
This is a bit of a chicken and egg problem, as your versions are too old for you to be able to update them!
Remote Access to the rescue
Here’s what we’ll do:
- Enable Remote Access to the machine
- Update the firmware from another computer through the web interface
- Then we will be able to update the other stuff from System Services
Let’s get started!
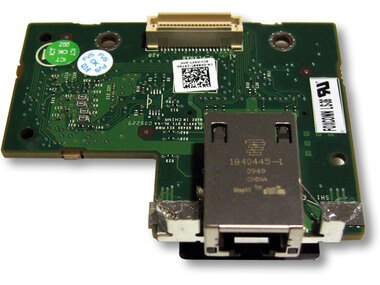
Note that you will need both an iDRAC Express and an iDRAC Enterprise modules to do what follows. If you don’t have those check on eBay, the prices are reasonable.
“iDRAC” stands for Integrated Dell Remote Access Controller : it is Dell’s platform for remote management.
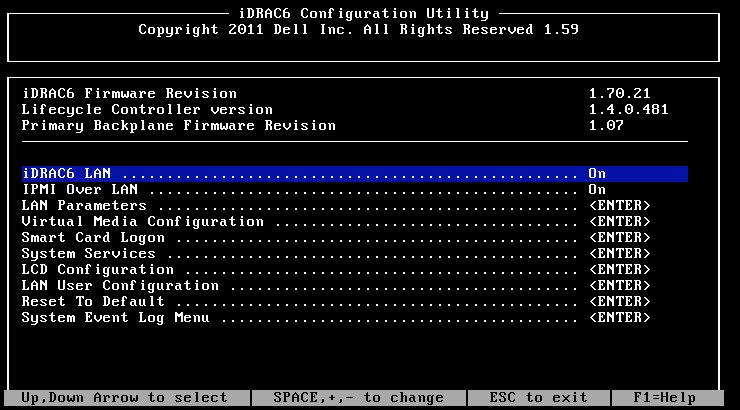
Reboot the machine and press CTRL+E during POST to enter the iDRAC6 Configuration Utility.
From there, enable iDRAC6 LAN. Configure the LAN Parameters to give the iDRAC an IP on your network you’ll remember. Save and shut down.
Physically connect to the iDRAC’s NIC and connect to the iDRAC from a web browser. The default credentials are root/calvin. If you try to access the remote console at this point it will fail miserably, as the encryption method used by the old version of the iDRAC is rejected by recent Java versions.
Go to Update Firmware from the Quick Launch Tasks box.
Download the Lifecycle Controller update from Dell’s website and install it: http://www.dell.com/support/home/ca/en/cabsdt1/drivers/driversdetails?driverId=80XJ1
That’s it! you can now reboot the server, press F10 and update the BIOS, Lifecycle Controller, the iDRAC and then everything else. It’s a good idea to do it multiple times since new items can pop up after you perform an update.
As an extra, you can even do all this without approaching the machine by using the Remote Console, as shown in the video above. This feature is super useful as you get to see all the POST screens, and errors on boot.
Note that you will need to rename the .jnlp file you get from the Remote Access Controller :
- from viewer.jnlp(<info>)
- to viewer(<info>).jnlp
This Chrome extension can take care of this for you : https://chrome.google.com/webstore/detail/fix-idrac-jnlp-file/knpcepbijjjpmlhbpmkjknghbeghiibo
Communities to join
You are not alone hoarding server hardware in your living room. Join us!